

Salesforce’s Hyperforce is the future of its infrastructure, specifically designed for the public cloud. By providing additional compliance and security benefits, Hyperforce helps organizations practice modern, enhanced privacy standards. However, transitioning to Hyperforce can feel overwhelming because it requires incredible attention to detail and a fundamental understanding of the Salesforce platform.
Luckily, we’ve helped clients transition their international businesses to Hyperforce, so we know first-hand how important security and data residency are to maintaining compliance.
In this article, you’ll learn the fundamentals of Hyperforce and get a step-by-step breakdown to migrate your Salesforce Org to Hyperforce.
Why Your Organization Needs Hyperforce
Without Hyperforce, your organization’s data compliance could be at risk.
Operating an international business means dealing with various countries, each with its own data security and compliance standards. For instance, the European Union (EU) requires General Data Protection Regulation (GDPR) compliance to safeguard individuals’ data rights and privacy.
These requirements include where data is stored (Data Residency) and the security of data in transit and at rest. By default, Salesforce does not offer encryption at rest for organizations based in the United States unless they are on Hyperforce.
Transitioning to Hyperforce involves several important steps. Let’s break down the steps to a successful Hyperforce migration.
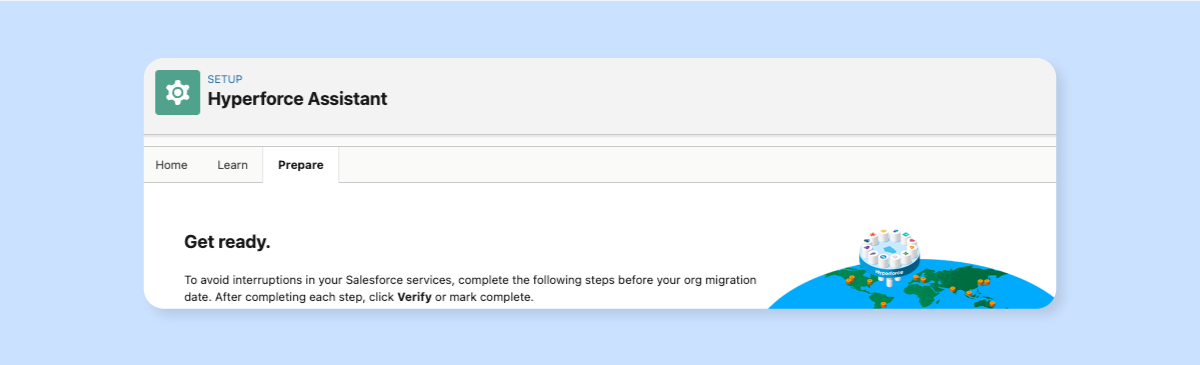
Prepare for Hyperforce with Hyperforce Assistant
Hyperforce offers data residency and encryption benefits at no extra cost. Additionally, it minimizes downtime for releases and maintenance (a definite perk) due to its architecture and interoperability with Amazon Web Services (AWS).
Salesforce is gradually rolling out Hyperforce to organizations in the U.S., and they are offering the Hyperforce Assistant to help transition. If Hyperforce Assistant is not yet available in the setup menu, reach out to your Account Executive for help.
Keep open communication with your Account Executive while migrating to Hyperforce because they can assist with migration scheduling and help choose a specific EU country for Data Residency.
Once Hyperforce Assistant is accessible in the Setup menu, explore the Learn and Prepare tabs for steps to get started.
How to Prepare for Hyperforce Migration
The Hyperforce Assistant will help guide you through the migration process. Depending on your Org and how well you stay updated with Salesforce releases, some of the migration steps may already be completed.
On the other hand, some steps may require additional work to complete depending on a variety of factors, like if you’ve transitioned to Enhanced Domains or if you use Marketing Cloud.
For each step in the Prepare section, you will either need to verify completion or mark an item as complete (when verification is not available.)
To prepare for Hyperforce migration:
- Remove hard-coded instance references.
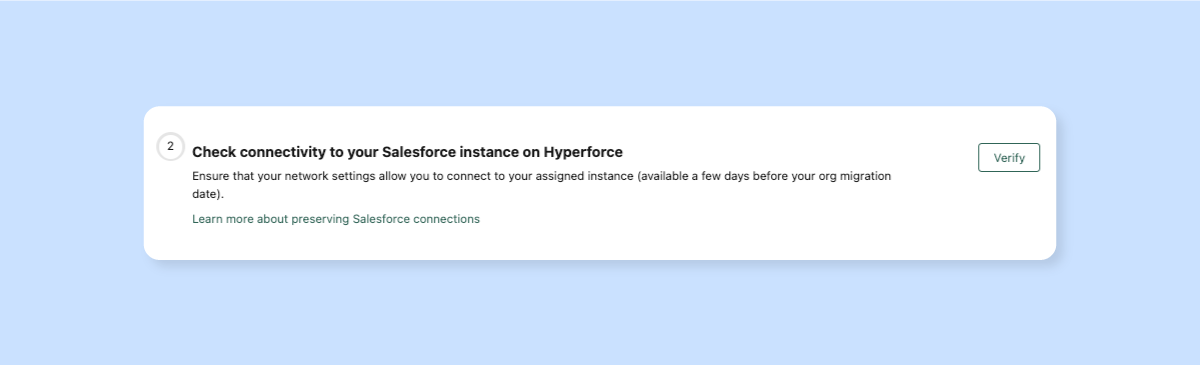
- Check the connectivity of your Salesforce instance to Hyperforce.
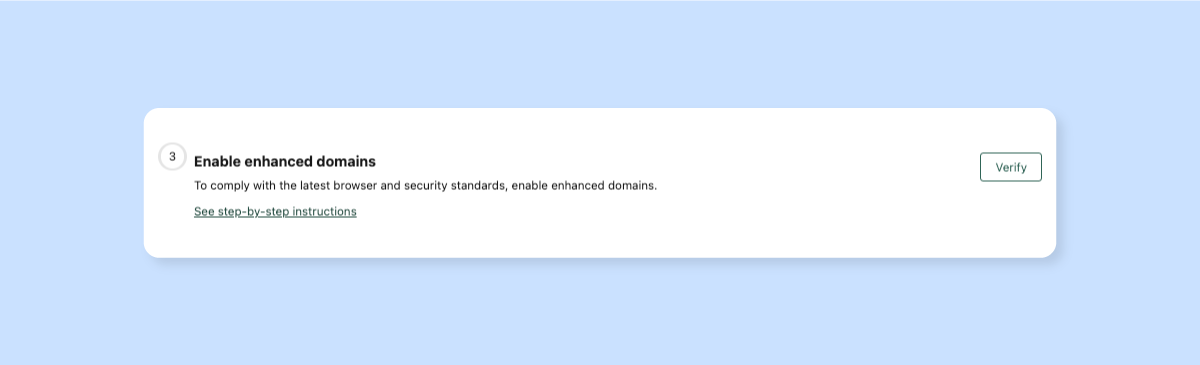
- Enable enhanced domains.
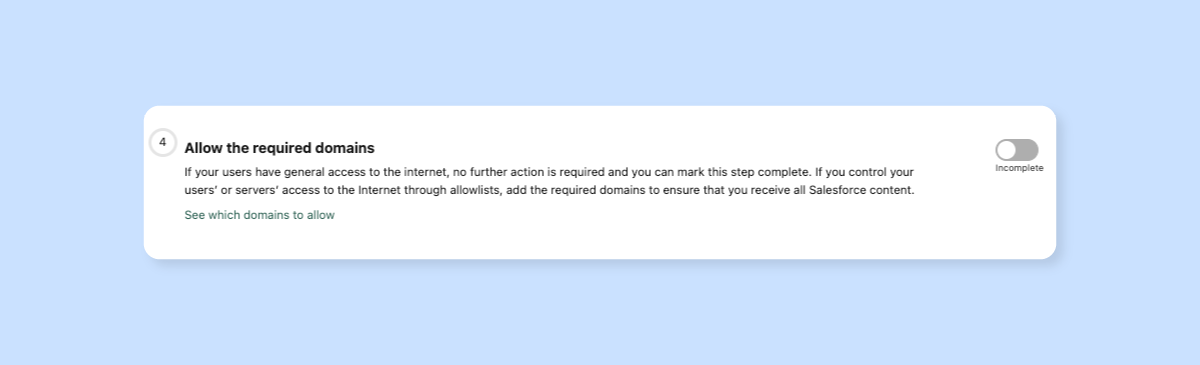
- Allow the required domains.
- Make sure you can receive Salesforce emails.
- Update Marketing Cloud endpoints to tenant-specific endpoints (TSEs).
Step 1: Remove Hard-Coded Instance References
To get started, allow access to the Salesforce Optimizer. Salesforce Optimizer tests for hard-coded references and verifies there aren’t any. Hard-coded instance references are links that contain the instance name (e.g., NA2, AP14, EU5, etc.). They often live in email templates, knowledge articles, integrations, and customizations.
If your Org has hard-coded instance references, then you must remove them before migrating to Hyperforce, as the migration will break them.
For more information, please see this Salesforce article: Updating Hard-Coded References
Step 2: Check the connectivity of your Salesforce instance to Hyperforce
To verify that your Org can connect to the appropriate Hyperforce instance, check the connectivity under its current network settings.
Unless you test the instance within a few days of the migration date, connectivity verification will fail. However, you can negotiate a specific migration date ahead of the default date with your Account Executive. That way, you’ll be able to verify connectivity the week before migration.
View your migration status at status.salesforce.com.
Step 3: Enable enhanced domains
Because Salesforce enabled enhanced domains by default in 2022, most Orgs should have completed this step already.
Enhanced domains standardize domain formats by using your company’s My Domain name in URLs, including Salesforce Sites and Experience Cloud sites.
For more information on Enhanced Domains, please take a look at this article from Salesforce: Enable Enhanced Domains
Step 4: Allow the required domains
If your users have general access to the Internet, you can mark this step as complete.
If your Org limits access by using IP restrictions, server whitelists, or SSO, consult with the IT department to ensure that you’ve allowed the required domains.
For more information, please see this article: Allow the Required Domains.
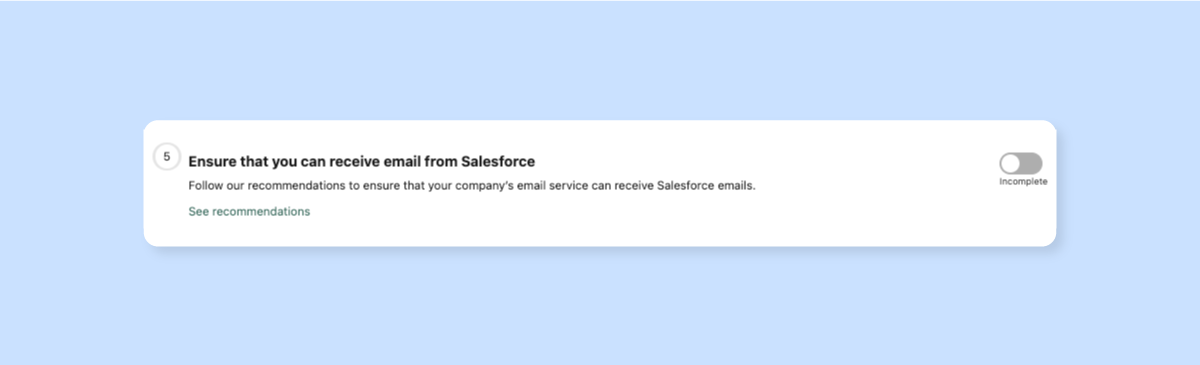
Step 5: Make sure you can receive Salesforce emails
To guarantee that your Salesforce email services will continue after the Hyperforce migration takes place, make sure you’re opted-in to emails. Otherwise, email providers may block or filter emails you send from your Salesforce Org.
Since maintaining allowlisting is more involved, Salesforce recommends relying on standard email security protocols (TLS, SPF, DKIM, and DMARC) instead of IP allowlists.
Be sure to:
- Inspect SPF & DKIM in your Salesforce setup.
- Verify that Salesforce emails are through your email server.
You should consult with your IT specialist to verify or update your company’s email protocols. The link below can provide IT with some technical details that may be helpful.
To provide IT with the right information, visit here.
Step 6: Update Marketing Cloud endpoints to tenant-specific endpoints (TSEs)
The final step in preparing your Org for Hyperforce migration is to update Marketing Cloud endpoints to tenant-specific endpoints (TSEs). If your Org does not use Marketing Cloud, then mark the following steps complete.
Hyperforce requires Tenant-Specific OAuth Endpoints for Marketing Cloud Connect, which is much more secure than legacy Stack-Specific Endpoints (SSEs). This improves reliability and security, among other benefits.
Salesforce has a two-phase approach for Marketing Cloud users migrating to TSEs.
- Enable TSEs for Marketing Cloud Connect.
- Update all Marketing Cloud endpoints to TSEs.
If your Org uses Marketing Cloud, follow the steps below to transition to Hyperforce.
First, enable TSEs for Marketing Cloud Connect.
You must enable TSEs, and be sure to update any legacy endpoints to TSEs.
Warning: Enabling TSEs will clear your current Marketing Cloud Configuration settings. Before enabling the endpoints, Salesforce recommends documenting your settings with screenshots.
Next, proceed with the Automatic Setup Wizard and reconnect the Marketing Cloud API User. Once that’s completed, refer to your screenshots to re-configure your Marketing Cloud connector and settings.
For more help enabling TSEs, see Salesforce’s step-by-step instructions.
Second, update all Marketing Cloud endpoints to TSEs.
After enabling TSEs, update all Marketing Cloud endpoints to TSEs. Legacy Stack-Specific Endpoints use a mesh architecture, which bounces requests from one stack to another until they end up in the correct stack. TSEs route these requests directly to the customer-specific stack.
Salesforce provides examples of how to update various API endpoints from Stack-Specific to TSE.
Finally, once you’ve updated the endpoints, mark the final step complete.

What Happens After My Hyperforce Transition is Complete?
Following these steps will ensure a smooth transition to Hyperforce with minimal disruption. The migration typically takes around two hours, and you can verify changes in Company Settings.
If you changed your data residency location during the migration, check the instance in Company Settings and verify it’s correct.
For the best results, plan ahead and proactively communicate the downtime and potential issues, like broken bookmarks or login problems, to your organization.
Note: your business may need to take action to comply with new Hyperforce security regulations. However, in most cases, business can resume as normal.
In conclusion, migrating to Hyperforce may appear daunting, but with the Hyperforce Assistant, it is manageable. If you’ve been avoiding Hyperforce, get started with the Hyperforce Assistant. You’ll be surprised by how straightforward it is, and soon, you’ll be checking off the migration steps one by one.
Want Help Migrating Your Org to Hyperforce?
Contact Growth Heroes to find out how our Salesforce-certified experts can help.